PHP Live Preview Setup
Setting up Live Preview for PHP projects is straightforward with Apache and XAMPP. Below are the installation and configuration steps for each operating system:
- Windows
- Linux
- macOS
Steps for Windows
- Download and install XAMPP from Apache Friends.
- Open the XAMPP Control Panel.
- Modify the
httpd.conffile located atC:\xampp\apache\conf\httpd.conf:DocumentRoot "C:/path/to/your/project"
<Directory "C:/path/to/your/project">
</Directory> - Save the updated configuration.
- Restart the Apache server through the XAMPP Control Panel.
Steps for Linux
- Download and install XAMPP from Apache Friends.
- Open the XAMPP Control Panel by running
sudo /opt/lampp/lampp startin your terminal. - Modify the
httpd.conffile located at/opt/lampp/etc/httpd.conf:DocumentRoot "/path/to/your/project"
<Directory "/path/to/your/project">
</Directory> - Save the updated configuration.
- Restart the Apache server through the XAMPP Control Panel.
Steps for macOS
- Download and install XAMPP from Apache Friends.
- Open the XAMPP manager from your Applications folder.
- Modify the
httpd.conffile located at/Applications/XAMPP/xamppfiles/etc/httpd.conf:DocumentRoot "/path/to/your/project"
<Directory "/path/to/your/project">
</Directory> - Save the updated configuration.
- Restart the Apache server through the XAMPP Control Panel.
- Add the following settings to your custom Live Preview:
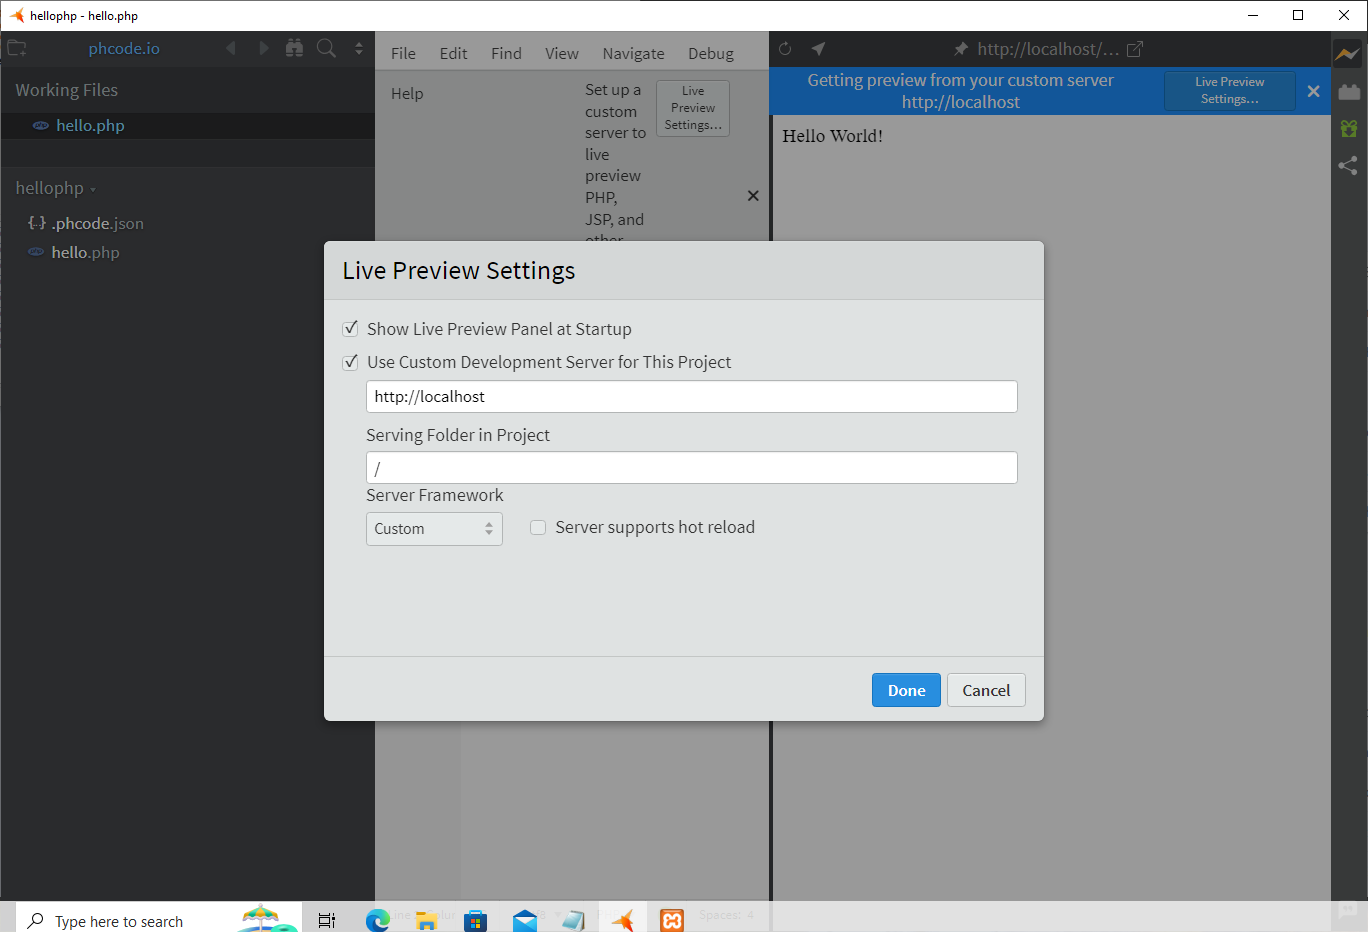 Your Live Preview should now automatically update to reflect changes whenever PHP files are edited.